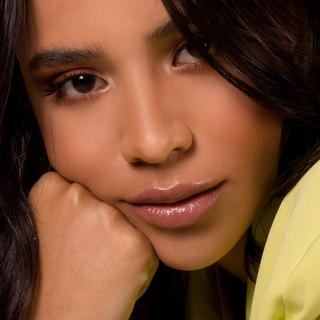
GRAPHIC LINER 101 (in the fastest way possible)
- Rosa Cabrera
- Mar 21, 2020
- 3 min read

Oh, the good all graphic liner ever so pretty but also ever so feared by a good 70% of the makeup wearing population.
This beautiful technique doesn't have to be difficult at all (if you follow the right steps) so on today's post, I'm gonna show you MY preferred way to go about it! I promise you will be a pro when you finish reading this. (if you would like a video tutorial, just drop a comment down below to let me know!)
STEP 1: Prep the base.
A good base makes a hell of a difference when it comes to big designs on the eyes, this is what is going to prevent your liner to transfer to your lid throughout the day. The first thing you would need to do is apply you favorite concealer (even better if it's a matte finish) all-around your lid area, this is to make sure you have a uniform base and then to set just use a translucent powder of your choice, and we do this so we take away the stickiness of the concealer so the eyeshadows or the liners have a smooth application and are easier to blend.

My fav concealer for this is: The elf camo concealer

It's great because it's a matte finish which will make it so much easier! (sometimes I don't even have to set this one!)
STEP 2: Map it out.
This is what I call kind of my cheaters trick because this way you have an opportunity to mess it up before really committing to the liquid liner.
All you will need is a black or brown eyeshadow, you will want to start by drawing three dots that would be your guideline for the final result. The method I use is this one:

A) This dot is going to be the starting point of your eyeliner, to find the right spot you can use a brush and put it vertically between the bridge of your nose and the beginning of your eyebrow, you can do the dot anywhere you want (just try to make sure it doesn't go above the "D" line or below the inner corner)
B) This one is going to be the middle of the liner and I do it just so once I'm really doing it the liner doesn't drop down too much, this one is the easiest to place because is right where the line "B" and the line "D" meet so there ain't much room for error.
C) Last one! the "C" dot will mark the end of the wing part, so really you just want to align it with the tail of your brow and maybe just a tad bit above you "B" dot.
THEN all you gotta do is join the dots together with the same eyeshadow you been using to see if you like how it's looking or if you want to change something to make it more suitable for your eye shape!
STEP 3: Take it to the finish line (i mean there's one more step, but you get the point).
This simply is taking your liquid liner of choice and pass on top of the design you already did with the eyeshadow. Try taking it slow so don't step away from your guide and after doing the first line you can come back to it and make it a little ticker or fix any bump with a dry cotton swab.
(EXTRA TIP: if you aren't experienced with this type of liner just put a bit of your liquid liner on the back of your hand and use a brush your comfortable with, or you can also use a pencil or cream and work your way to liquid liner)STEP 4: Put a little sparkle on it!
And to finish this piece of art you just have to add some color to it! I choose a sparkly pinky shade but you can use any eyeshadow you want! you could even do a solid pigmented matte color!
Now you may be wondering why I decided to put the eyeshadow last, that is because I find it harder to slide the the liner over the eyeshadow than just directly on to the base.

What eyeshadow did I use?

Its the Carli Bybel x BH Cosmetics Deluxe palette, I  used the second to last  shadow on the first row (left to right), but you could even use one of the highlighter shades!
Don't forget to tag me on insta @thefakenewyorker_ and on my personal account @rosa.isabella_ or #TFNYMAKEUPLOOK if you make your version of this makeup look! I will post the best ones!

Comments